Contents
Why preparing for a house clearance makes all the difference
A well-prepared house clearance is done in one go, with nothing lost and no van stuck in the street. Most problems on a clearance have nothing to do with the furniture: they come from decisions that were not made beforehand, such as a keepsake forgotten in a wardrobe, a lift booked by another resident or a street with nowhere to park.
In Brussels these practical details matter a great deal: narrow streets, terraced houses on several floors, flats in shared buildings, and cellars and attics that are awkward to reach. This checklist follows the real order of a clearance, from the first call to handing back the keys. You can print it and tick things off as you go.
Before the visit: WhatsApp photos and questions to ask yourself
The visit and the quote are free. A few photos sent in advance make the visit far more useful. Send them on WhatsApp to 0484 96 50 73:
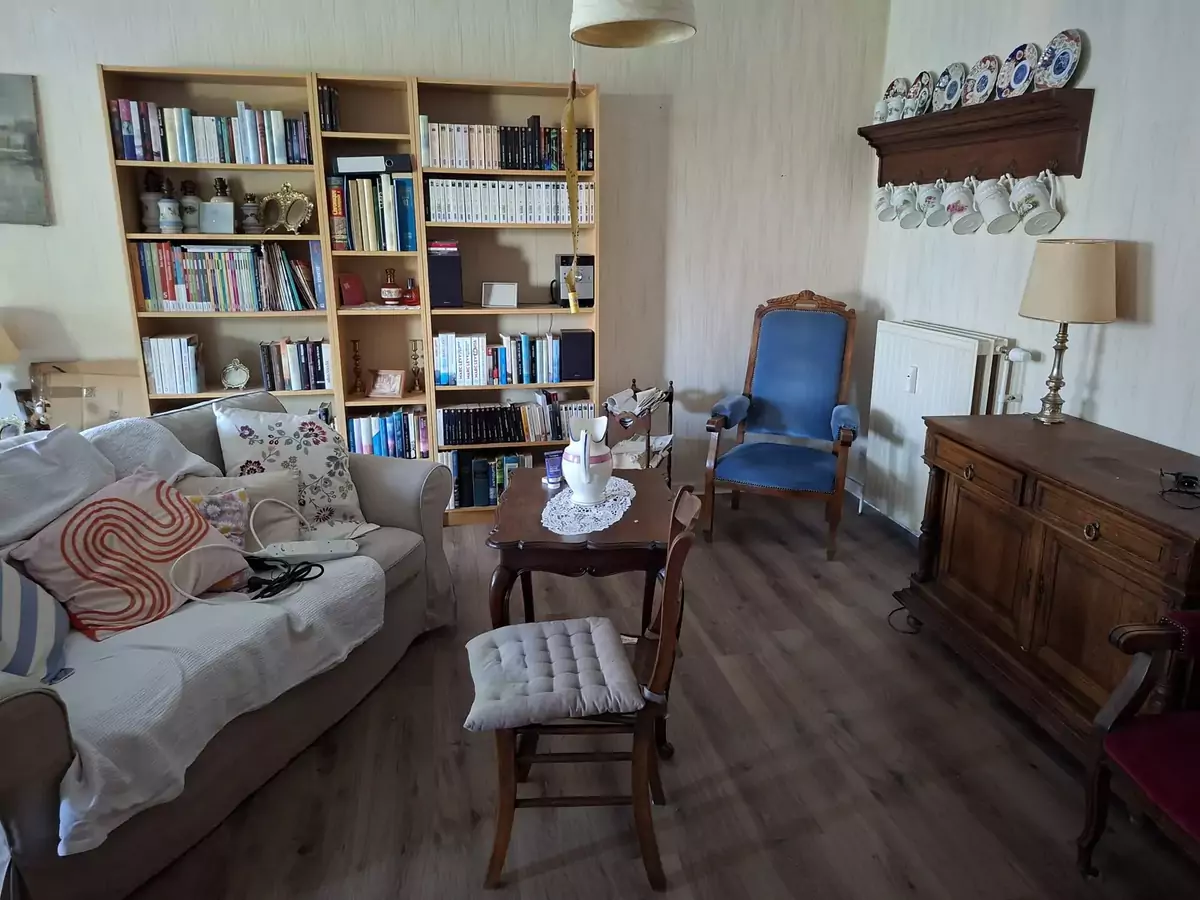
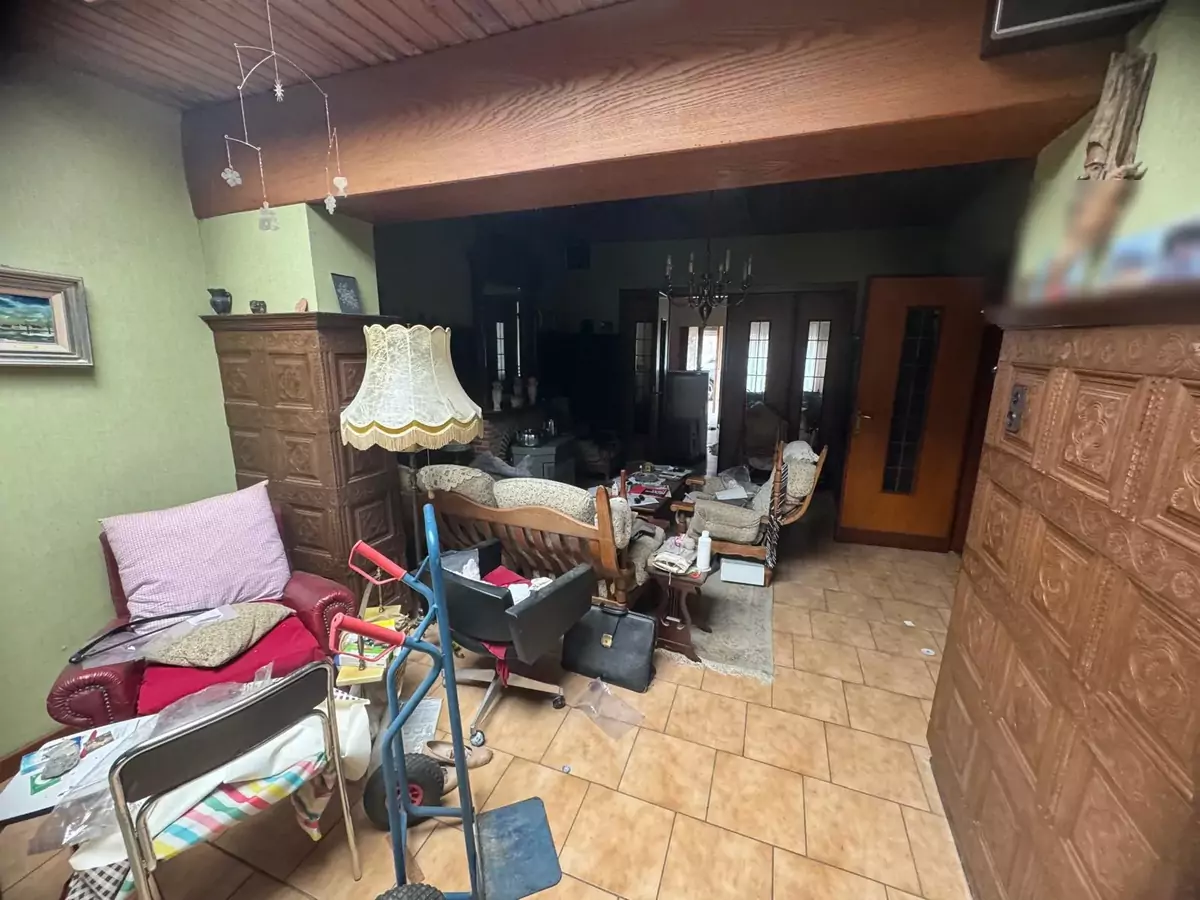
- a wide shot of each room, taken from the doorway;
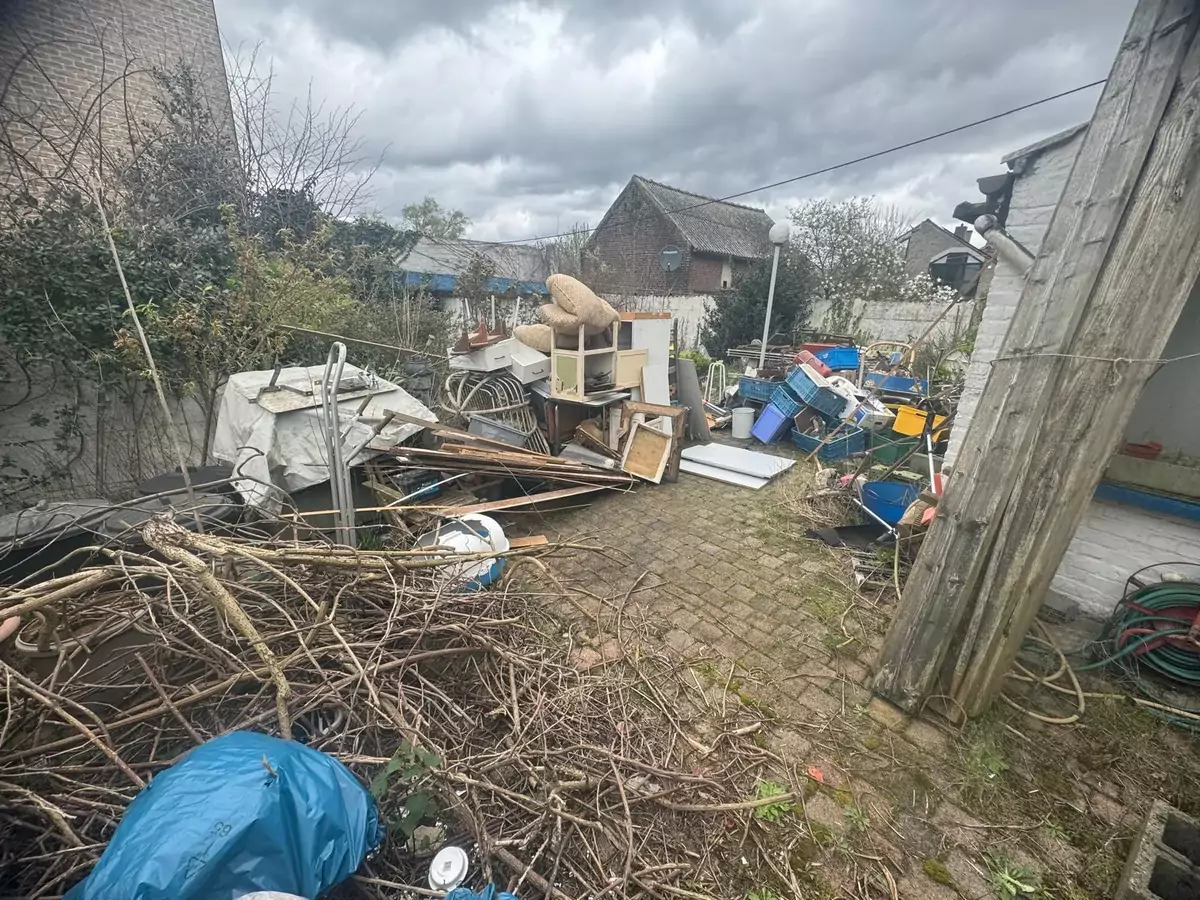
- the cellar, attic, garage and garden, even if they look empty;
- large furniture (wardrobes, sideboards, beds, a piano) and heavy appliances (fridge, freezer, washing machine);
- the stairs, the stairwell and the building entrance;
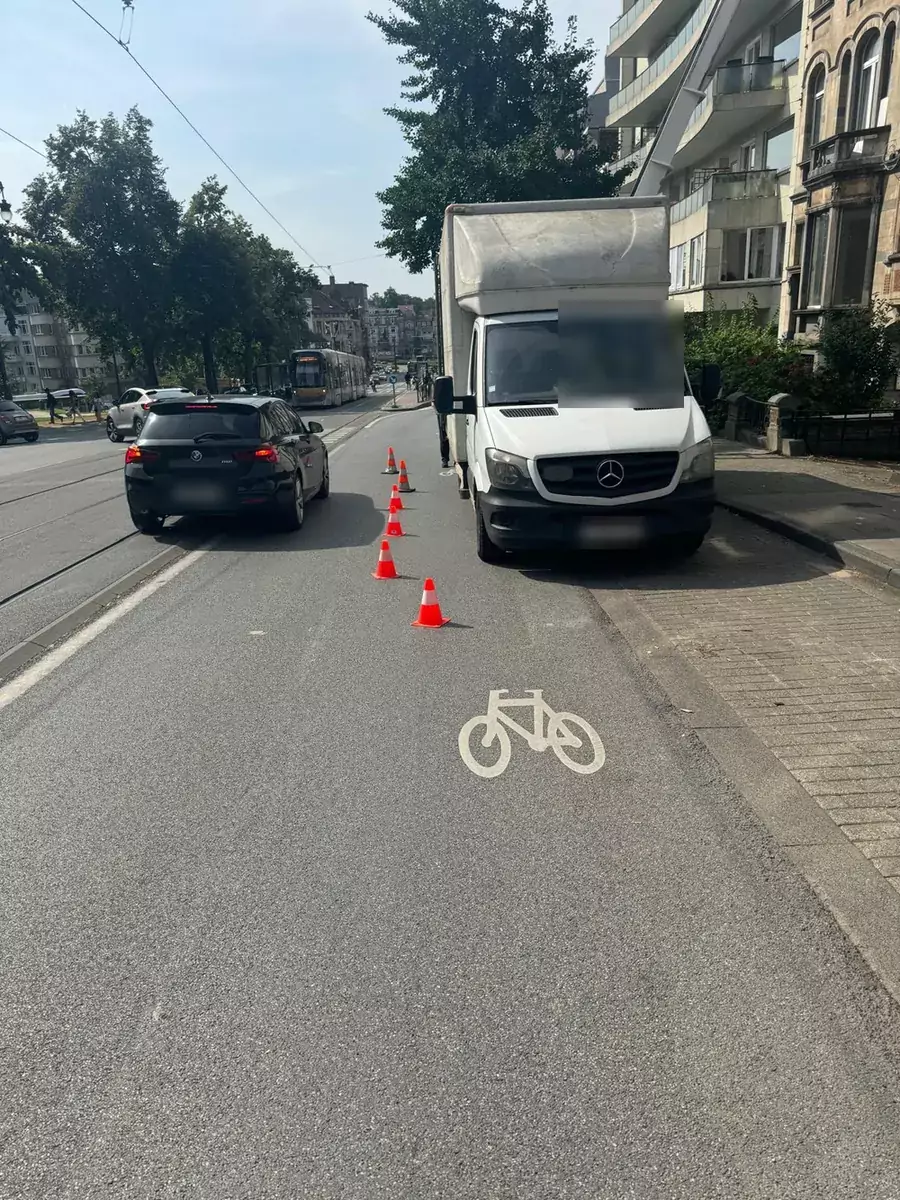
- the street outside the door, so we can judge the parking.
It also helps to have answers to a few simple questions:
- What is the deadline? The end of a lease, a sale, or the date the keys go back to the landlord.
- Who makes the decisions? If an estate is involved, the heirs should agree among themselves before the clearance.
- Does everything need to go, or only part of it? For a few pieces of furniture or a single room, junk removal is often enough.
- Would you like a basic clean of the emptied rooms? Ask for it at the visit and it goes on the quote.
At the end of the visit you receive a fixed price in writing, before any work starts. To see what makes that price vary, have a look at our prices page.
What to set aside before the clearance
This is the most important step: anything still in the property on the day is treated as something to clear. The simple rule: whatever you are keeping leaves the house, or goes into a locked room that is clearly marked.
- Keepsakes: photos, albums, letters, family heirlooms, children's drawings.
- Valuables: jewellery, watches, silverware, safe keys, bank cards.
- Furniture and items promised to a relative or friend: mark them with a sticky note or coloured tape, and have them collected beforehand.
- Equipment to return: the internet provider's decoder and modem, a rented gas bottle, borrowed medical equipment.
- Keys to the cellar, attic, letterbox and garage.
Open every drawer, every box and every coat pocket: that is where papers and jewellery tend to hide. If we come across documents or personal belongings while sorting, we hand them back to you.
Remember household chemicals too: tins of paint, solvents, cleaning products. Mention them at the visit. Residents can also take small amounts of household chemical waste to a Proxy Chimik run by Bruxelles-Propreté (Net Brussel), the regional waste agency.
The documents to find and gather
Before the clearance, put all the paperwork in a box that you take away with you. The most useful items are:
- title deeds, the lease, the check-in inventory (état des lieux);
- bank statements, insurance policies, energy and water bills;
- the boiler service record and appliance guarantees;
- recent post, which may reveal a subscription that needs cancelling.
If an estate is involved, take care. Notaire.be, the website of Belgian notaries, points out that simply behaving like an heir can be enough for you to be treated as having accepted the estate, and that it is best not to touch the deceased's belongings before a final decision has been made. Before clearing the home of a relative who has died, speak to the notary first. Our estate clearance page explains how we organise these clearances with the family.
Access, lifts and the syndic: letting the building know
In a block of flats, the clearance goes through the shared areas. A few days beforehand:
- Tell the syndic (the building manager) the date and times of the clearance. Ask whether the building's house rules set specific hours or require the lift to be protected.
- Lift: ask whether it can be reserved while the van is being loaded, and note its dimensions if a piece of furniture is very large.
- Neighbours: a note in the hall or under doors avoids friction, especially between terraced houses.
- Cellar and attic: check that you have the keys and that the way is clear. Cellars in apartment buildings are often locked.
For a flat, see also our apartment clearance page. For the extra spaces, see cellar clearance and attic clearance.
Parking the van in Brussels
The van needs to park close to the door. In Brussels, reserving space on the public road is arranged with the commune (the local municipality), and the rules differ from one commune to the next.
An official example: in the City of Brussels, you first need a permit for the temporary occupation of the public road, obtained through Osiris, the regional platform. You can then rent no-parking signs from the City, and the request must be made no later than 10 working days before the signs are put up. The signs may only be used Monday to Friday, between 7 am and 7 pm. The City points out that renting the signs does not, on its own, reserve the space.
In the other communes, deadlines and charges are different: contact the relevant council department as soon as the date is set. At the visit we look at the street with you and tell you whether a reservation is worthwhile. Each municipality page also gathers practical local information, and our guide to reserving parking for a van in Brussels explains the process step by step.
The preparation timeline at a glance
| When | What to do |
|---|---|
| As soon as you decide | Send photos on WhatsApp, book the free visit, agree with family on what is being kept |
| After the visit | Accept the fixed written price and the date; ask for a basic clean if needed |
| At least 2 weeks before | Check parking rules with the commune (City of Brussels: no later than 10 working days before) |
| 1 week before | Tell the syndic and the neighbours, reserve the lift, take out keepsakes and documents |
| The day before | A last check of the drawers, mark what is staying, make sure you have the cellar and attic keys |
| On the day | Welcome the team, show them what is not going, stay reachable |
| After the clearance | Final walk-through, meter readings, hand back the keys |
If time is short, we can be on site within 48 hours: in that case, focus on the things you are keeping and on access.
On the day: what happens and what you do
On the day of the clearance, the team arrives at the agreed time. You do not have to stay all day, but please be there at the start.
- A walk round the house together: you show us what is staying (marked furniture, the locked room).
- Sorting: anything still usable is donated to charities, and the rest goes for recycling or disposal.
- Dismantling and loading, room by room, from the cellar to the attic.
- A basic clean if you asked for one at the visit: sweeping, vacuuming and mopping the emptied rooms.
- Final check: you go through each room with the team.
If you leave, stay reachable by phone: a question may come up about something found while sorting. Our full method is set out on the house clearance in Brussels page.
After the clearance: meters and handing back the keys
Once the house is empty, there are a few things to do before you hand back the keys:
- Read the meters for electricity, gas and water, and take a photo of each.
- Energy takeover document: the Brussels-Capital Region advises filling it in in two copies, signed by you and by the new occupant, then contacting the supplier at your old address no later than seven days after the move so they can issue a closing bill.
- Redirect your post, or empty the letterbox one last time.
- Gather all the keys: doors, cellar, attic, garage, letterbox, access fobs.
- Photograph every empty room: dated photos are useful if the landlord or the buyer has any questions.
For a rented property, the check-out inventory is carried out between you and the landlord. Our cleaning after a house clearance is a basic clean (sweeping, vacuuming, mopping) that leaves the rooms presentable for the key handover.
The printable checklist
- Photos of every room, the extra spaces and the street sent on WhatsApp
- Free visit done, fixed written price received, date confirmed
- Basic clean requested (or not) and included in the quote
- Agreement among family or heirs; notary consulted if an estate is involved
- Keepsakes, valuables and documents taken out of the property
- Furniture being kept marked or collected
- Household chemicals mentioned
- Commune contacted about parking
- Syndic, neighbours and lift sorted
- Cellar, attic and garage keys to hand
- Meters read, energy takeover document signed
- Photos of the empty rooms taken, keys gathered and handed back